1. Remove the bearing cap, wipe the journal and bearing shell clear of oil.
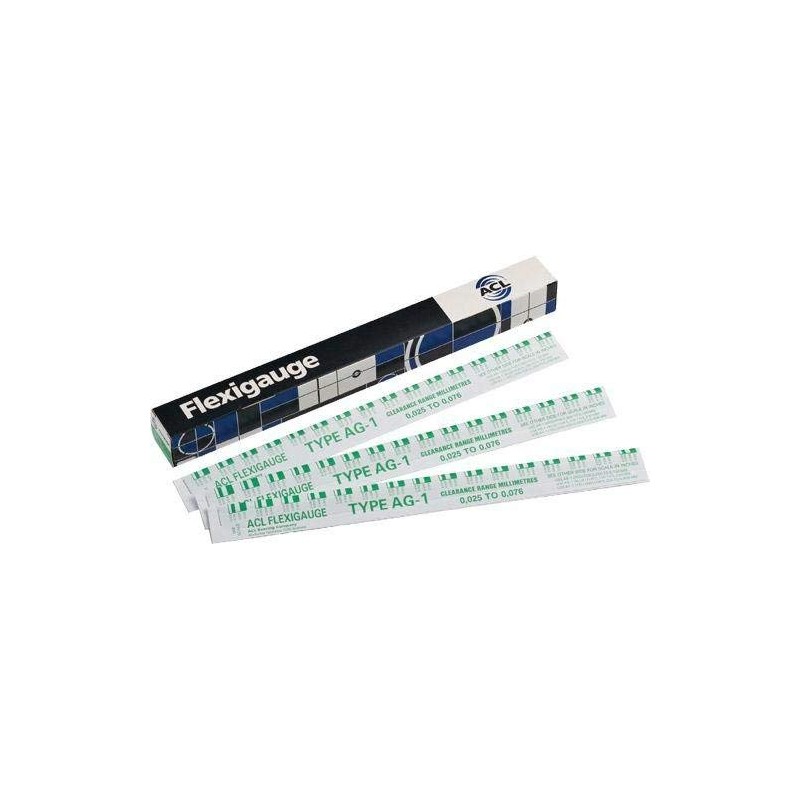
2. Place a piece of Flexigauge across the bearing at the crown (see Figure 1).
3. Install the bearing cap and using a Torque Wrench tighten the bolts to the correct tension.
4. DO NOT REVOLVE THE SHAFT OR BEARINGS.
5. Remove bearing cap. The Flexigauge will be adhering either to the bearing or shaft.
6. Compare the width of the flattened Flexigauge with the graduation of the envelope. The figure within the graduations indicates the clearance in thousandths of an inch of millimetres, depending on which side of the envelope is used. (See Figure 2).
7. Taper is indicated when Flexigauge is wider at one end than the other, the amount of taper being the difference between the readings. The widest part of the Flexigauge represents the area of least clearance. “Barrelling” of the shaft when the Flexigauge is wider in the centre of the bearing.
